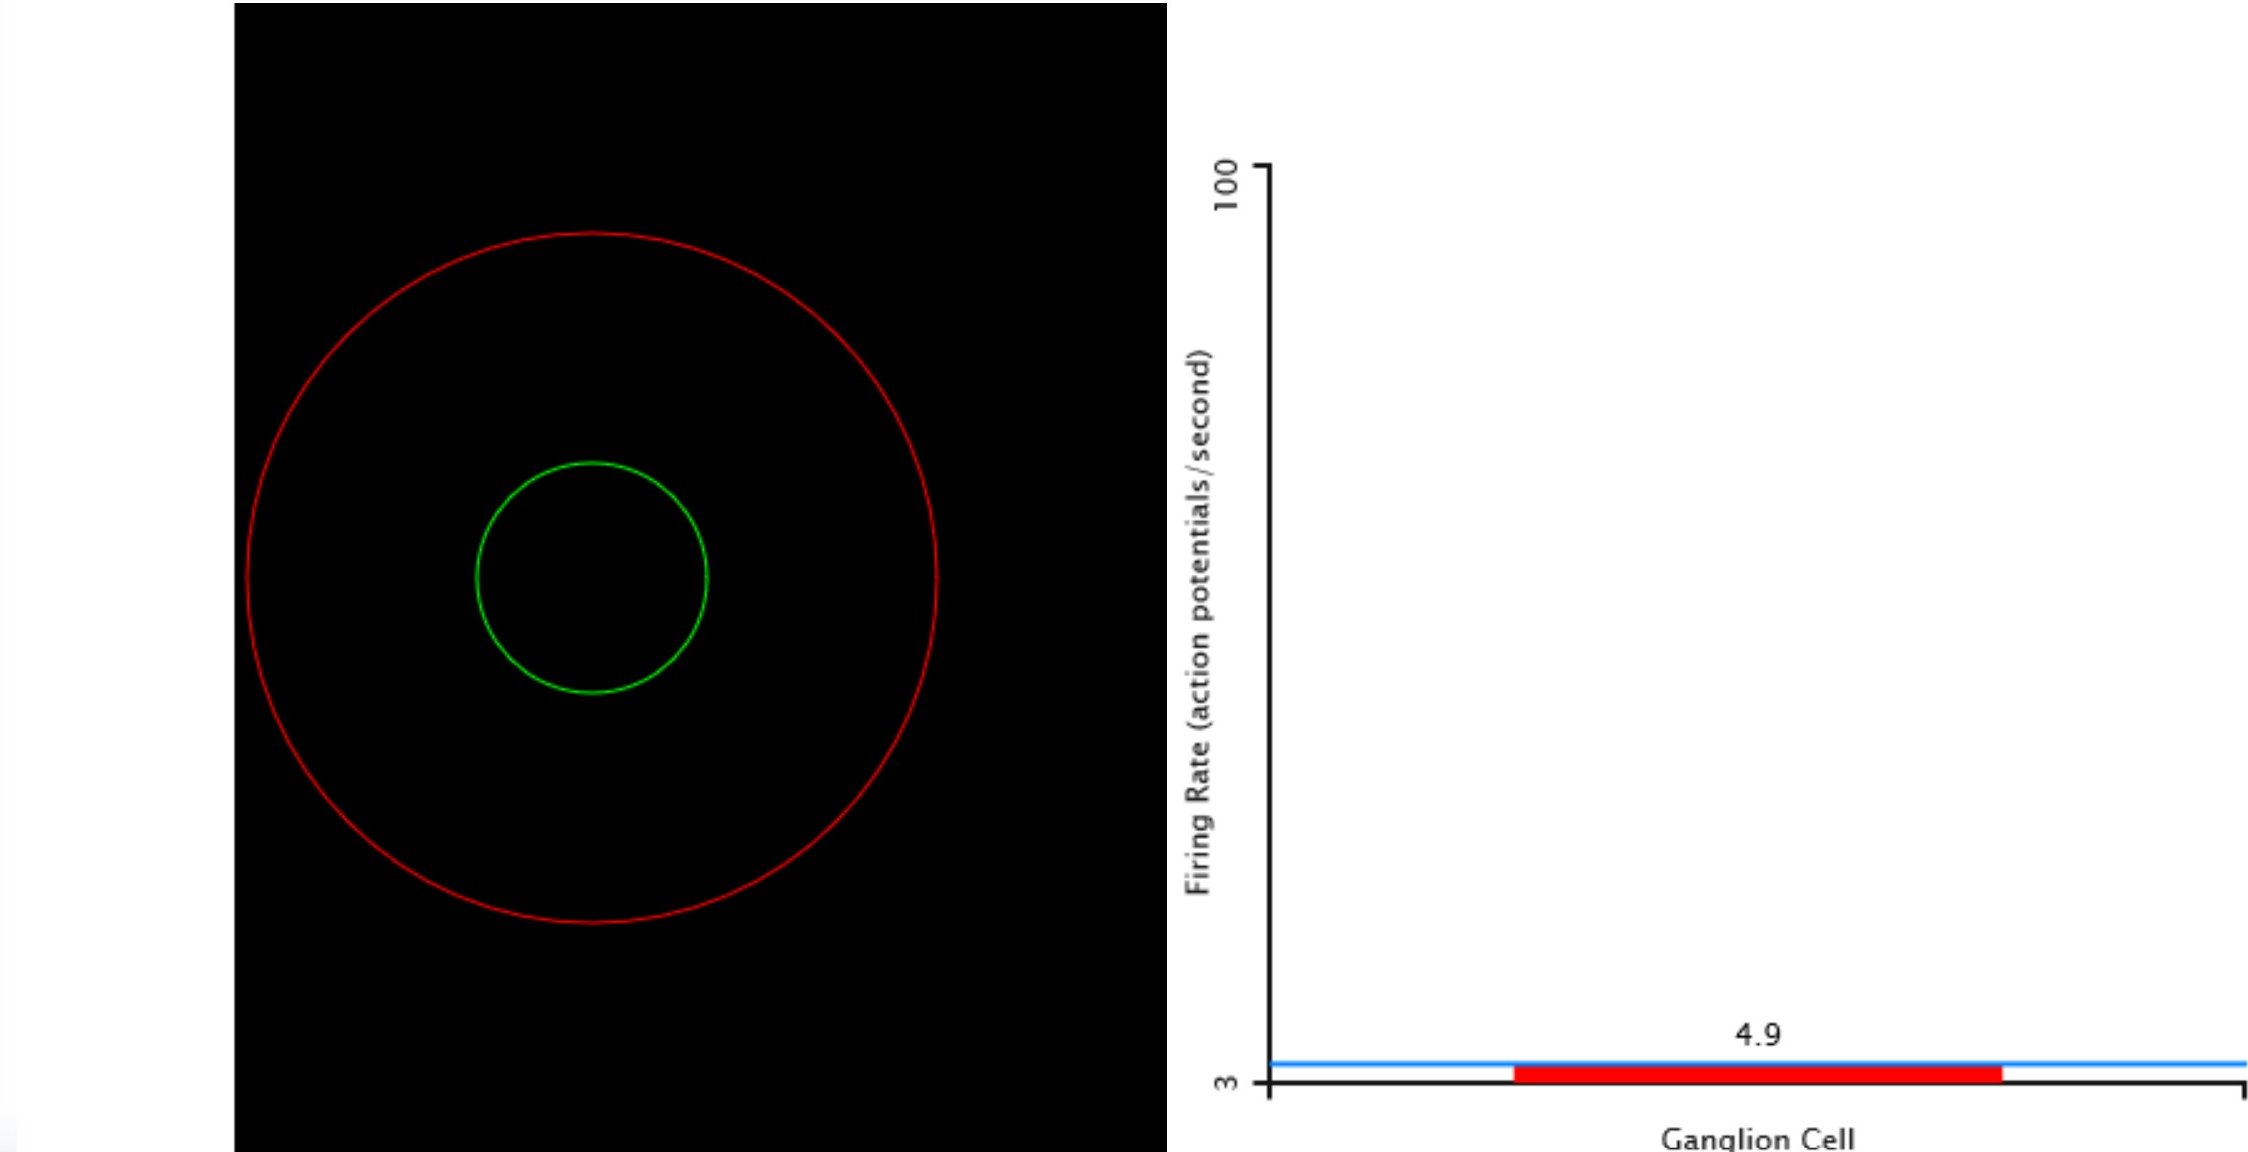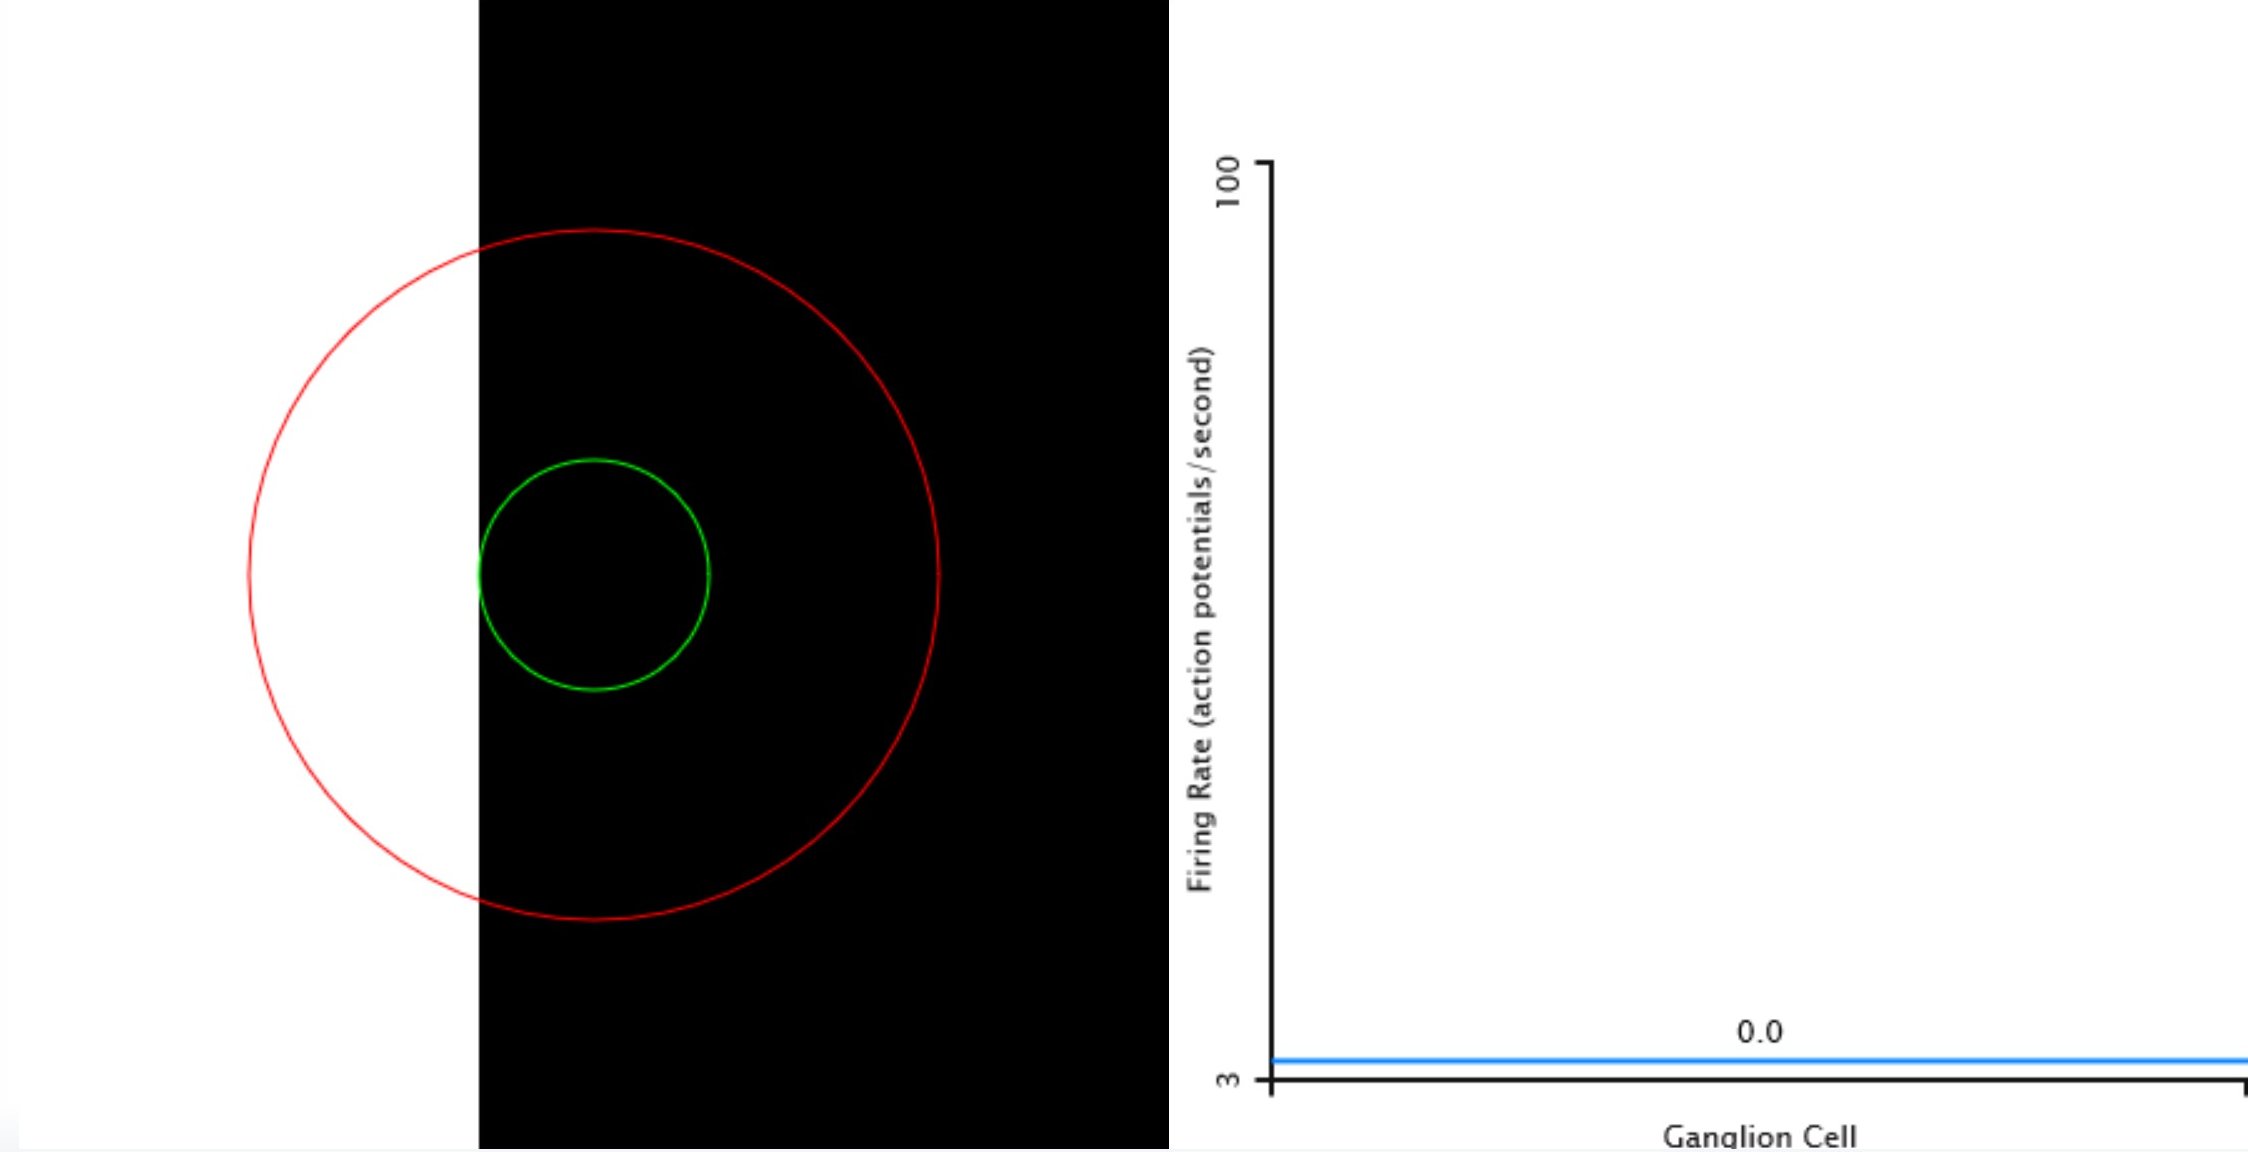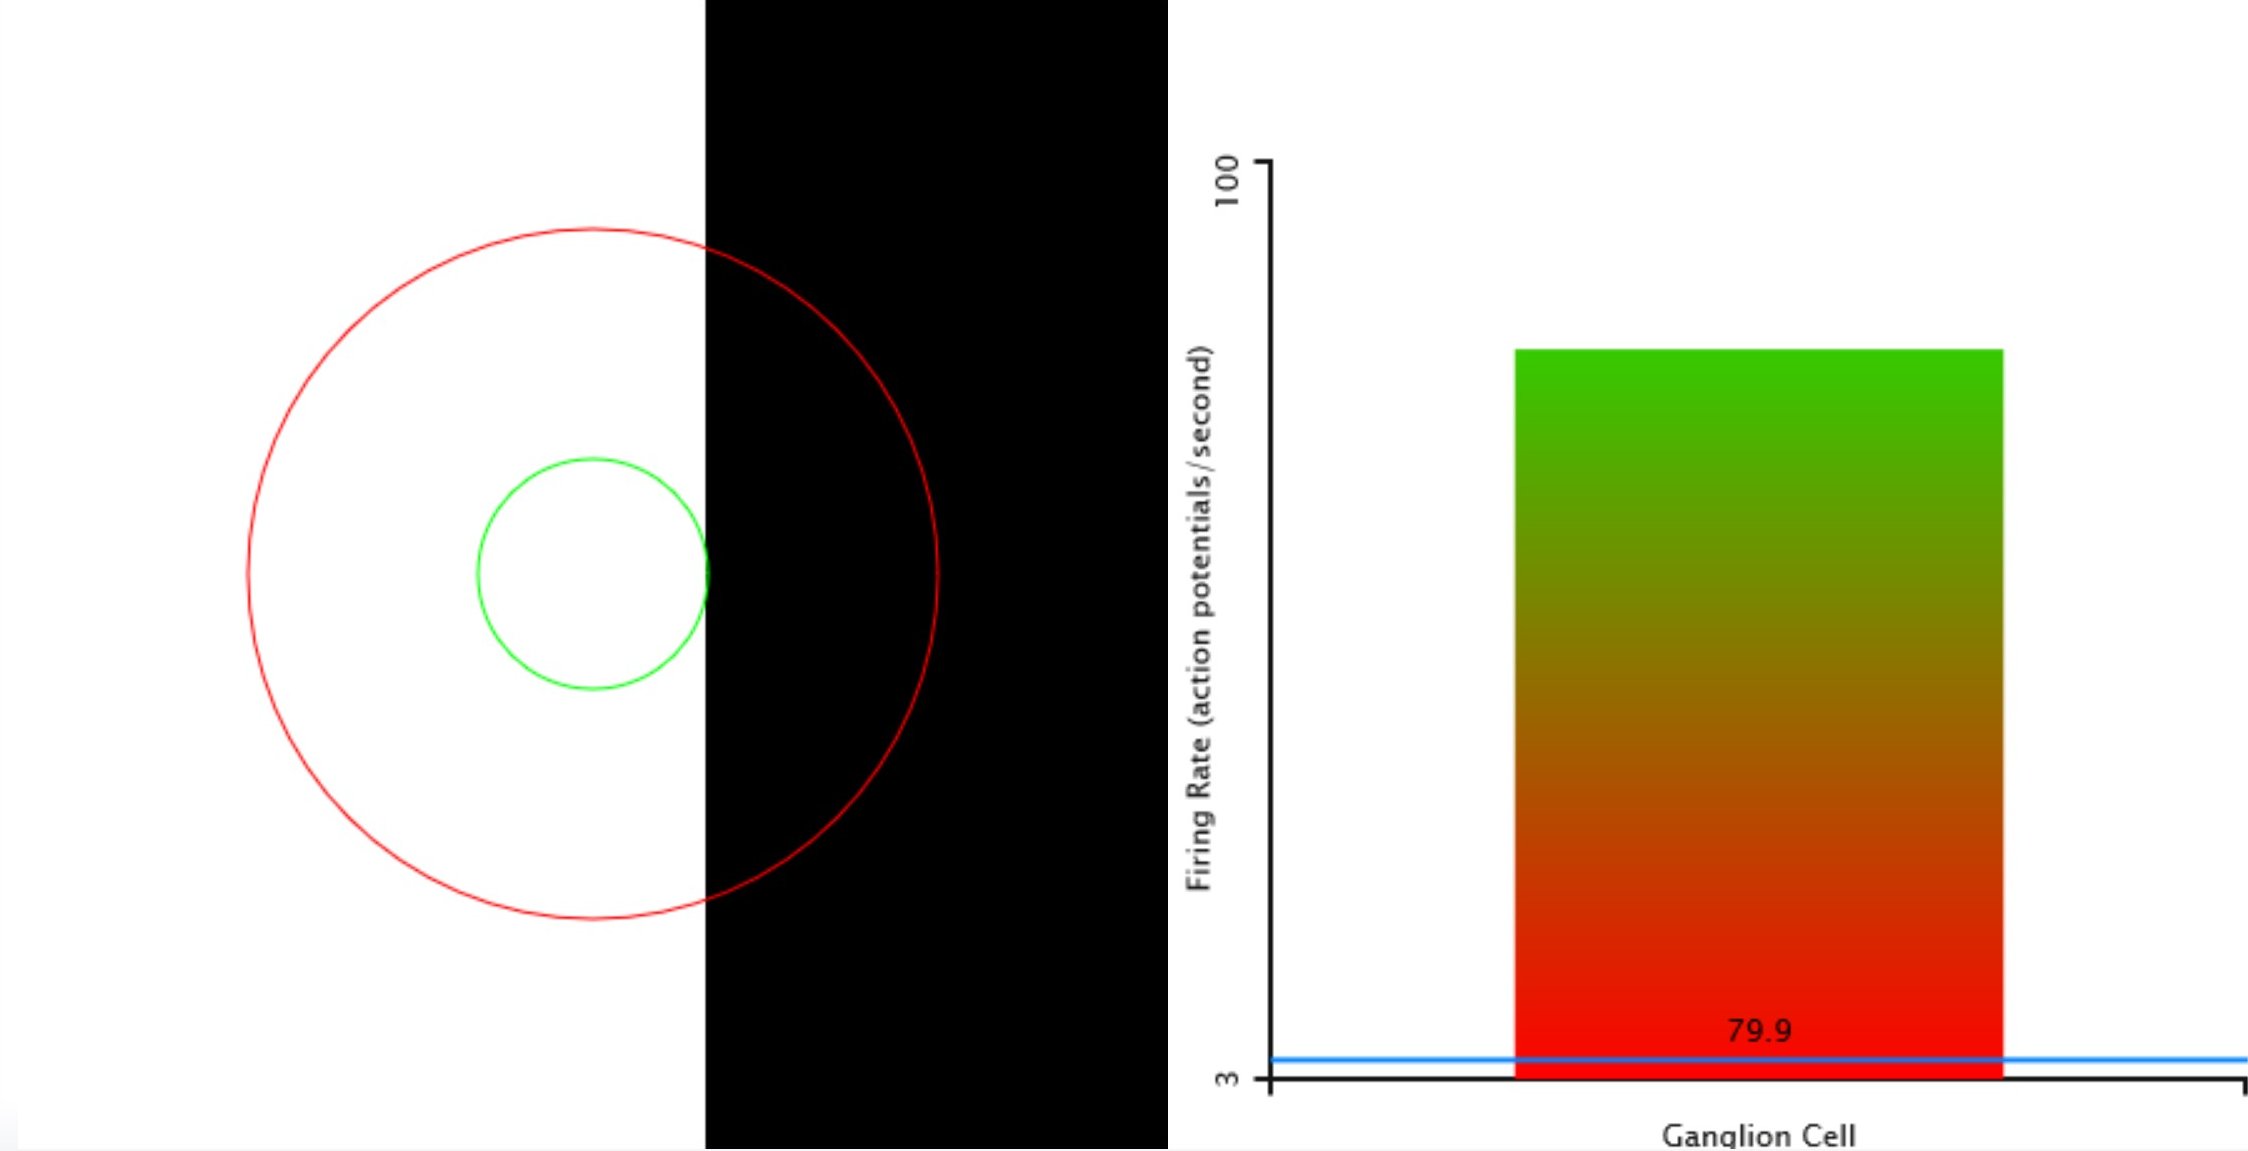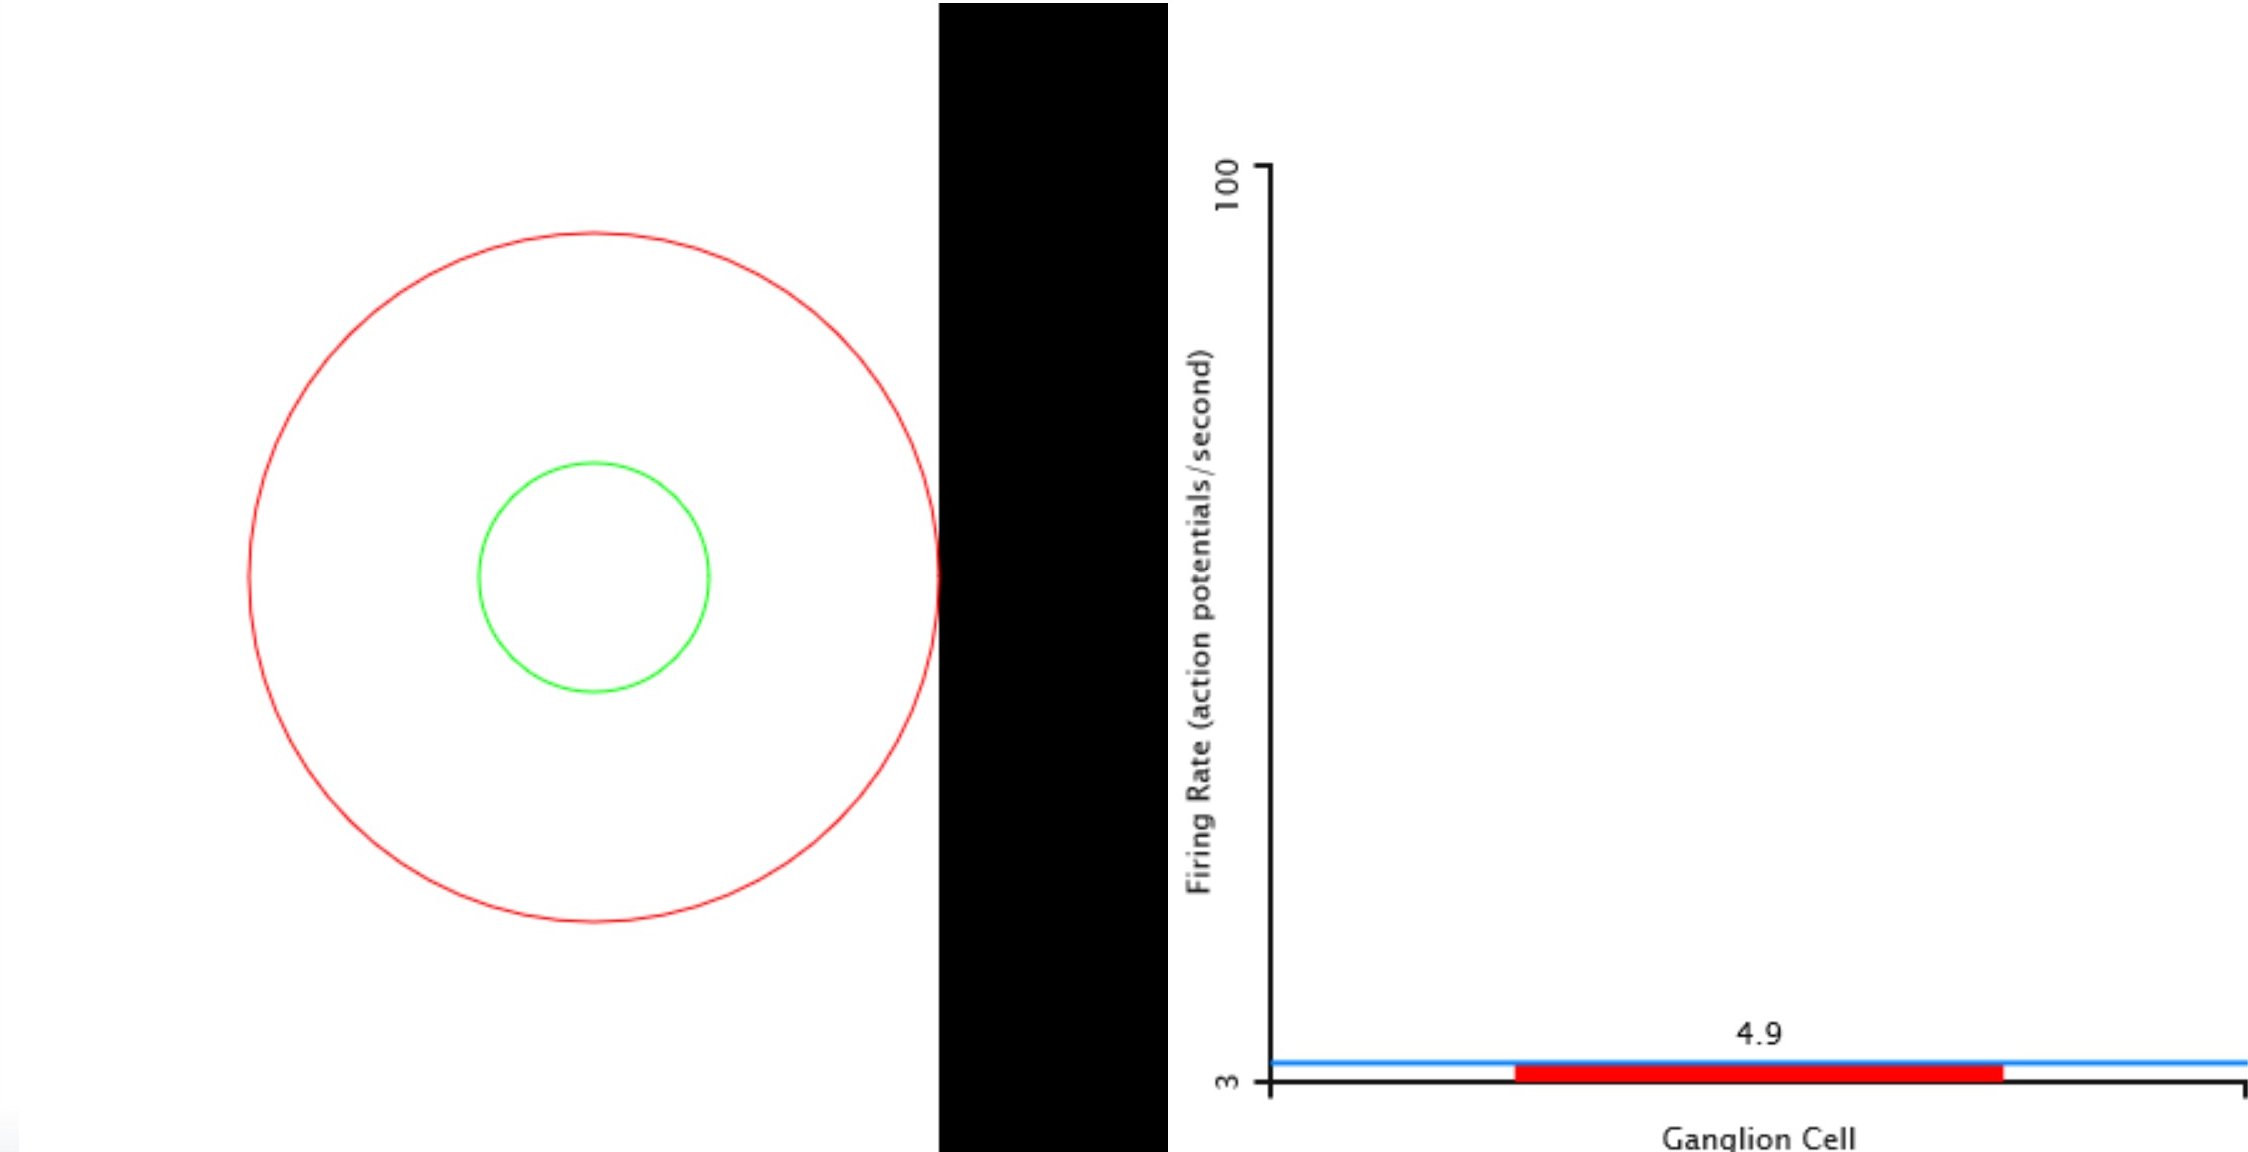


As was discussed in Chapter 3 with ganglion cells and Chapter 4 with the LGN, in the first stages of the visual system has center-surround receptive fields. As was mentioned then and illustrated above, these receptive fields respond to contrast or differences between light and dark much more than just light level. If you look above, you get the best response when the center area is covered by this edge. When the receptive field is full, the response is basically the same as when the receptive field is empty. The receptive field needs to have both light and dark areas in it to respond. There must be a difference.
The implication of these findings for seeing objects is that we need good edges to see objects and just having edges can have a powerful influence on how we see. In this activity are four illusions where the use of contrast alters our perception in a way that can be called an illusion. All of these illusions are well explained by these receptive fileds.
These illusions are:
Use this activity to explore illusions of contrast that are not illustrated in other places.
To see the illustration in full screen, which is recommended, press the Full Screen button, which appears at the top of the page.
Below is a list of the ways that you can alter the illustration. The settings include the following:
Type of Contrast Illusion: choose the contrast illusion to interact with. Your choices
are: Criak-Cornsweet-O'Brien, Mininal Contrast, Simultaneous Contrast, and Mach Bands currently.
Intensity: change the difference in intensity between the image and backgroun.
Direction: If selected, the stimulus or central part is brighter than the backgrouns. If
uncheck, then the stimulus or central part is darker than the background.
Edge Size: if allowed, how sharp of a change in intensity between the stimulus and background.
The larger the edge size, to the right, the more gradulate the change in intensity.
Show Luminance Contour: if allowed, show a plot of the changes in intensity across the relevant
part of the stimulus.
Show Non-illusory Figure: if there is a non-illusory version of the figure to be displayed,
select this option and it will be shown to the left with the illusion to the right.
Pressing this button restores the settings to their default values.